Image Merger
If your pack is simply applying a background and/or overlay to the default icons, you can make use of the Icon Merger under the Tools tab in the NightLight Desktop app.
The icon merger lets you apply a background and/or foreground layer to icons in bulk and avoids the need to individually edit icons.
If you select a default pack as the source, then the output will be named and organised ready for upload.
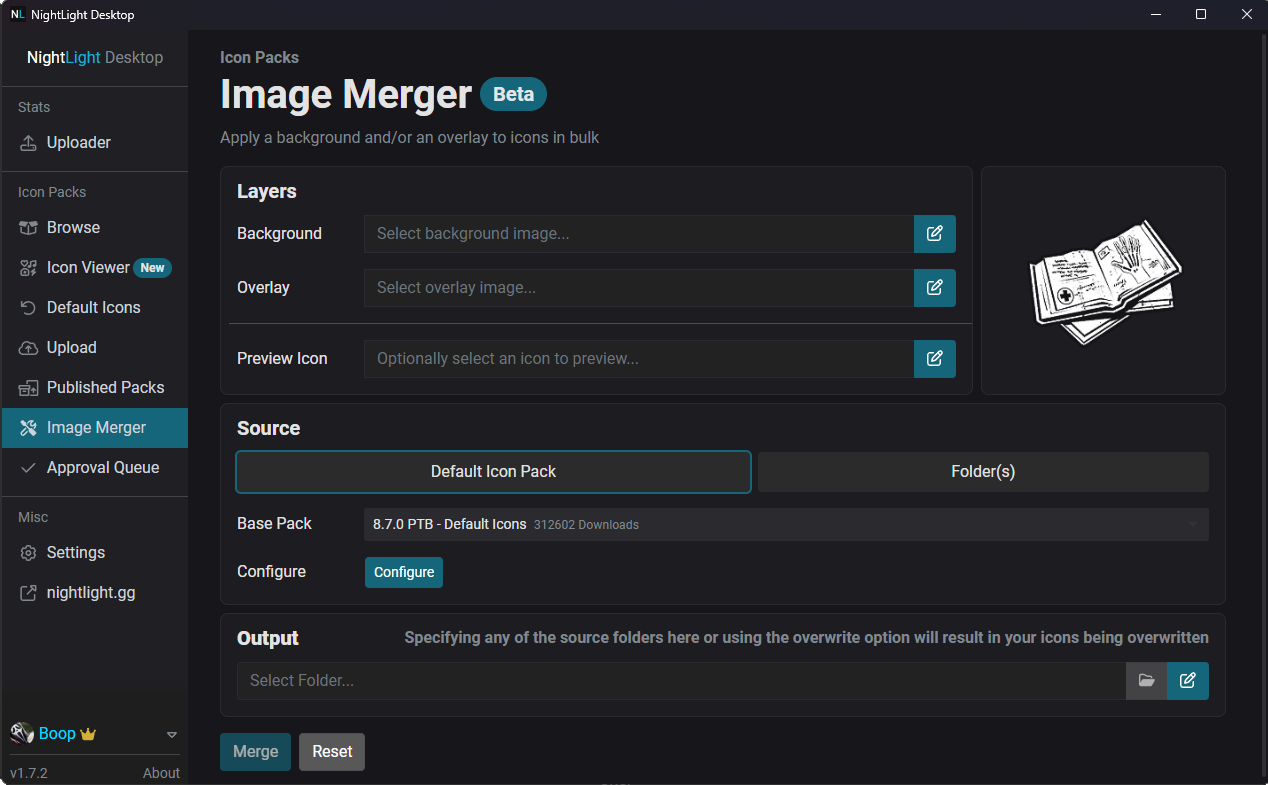
Using the Image Merger
The concept of the image merger is straightforward, apply an image behind (and/or in front) of the icons in a folder automatically to save time and your sanity.
To achieve this, the tool needs three things, the layers you wish to apply, the icons you wish to apply them to (i.e. the source), and the place to output the result.
Layers
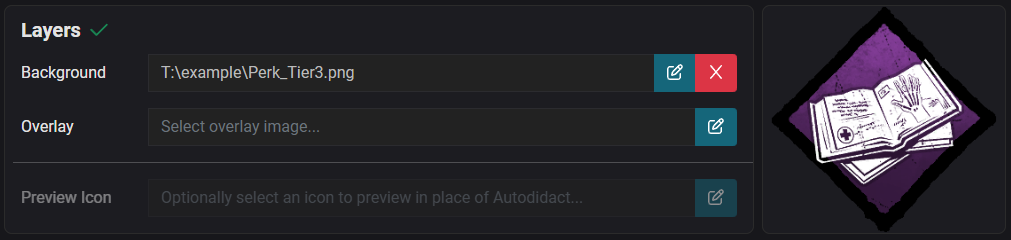
The first step is to select the background and/or overlay layers you wish to apply to the other icons.
These layers should be PNG images of the same dimensions as the icons you want to apply them to. (If they are different, they will be resized to match will result in them being stretched/squished if the aspect ratio differs).
When you select these layers, the Autodidact preview icon will update on the right to show how the icons will look.
You can optionally select a Preview Icon to be used in place of Autodidact.
Source
The source section lets you control which icons you want to apply the background/foreground layers to.
You can either select a default icon pack, or a folder you already have.
Default Icon Source
For convenience, you can select a default icon pack; these will be downloaded automatically by the tool for the merging operation. In most cases, this saves the need to download the icons yourself.
The main exception is if you need certain groups of icons to have certain backgrounds.
While you can use the Configure option to select specific icons,
you may find it easier to sort them separately and then provide the folder instead.
All of NightLight's Default Icon Packs are available here, including the Rarity Categorised Icons - these are pre-grouped into packs to make merging with a specific rarity easy.

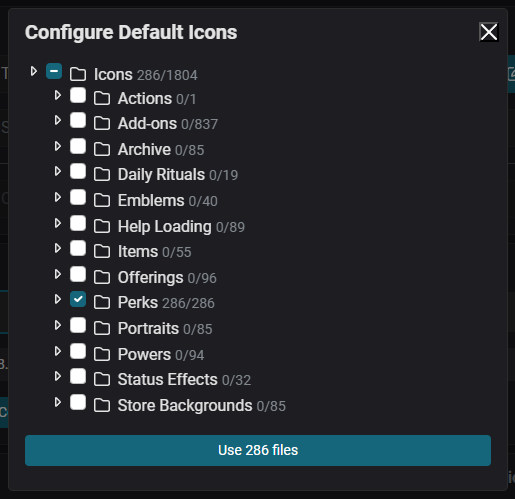
Once you have chosen the default pack you wish to work from, click the Configure button to choose the categories (or
even specific icons) you wish to include, as you would when installing a pack.
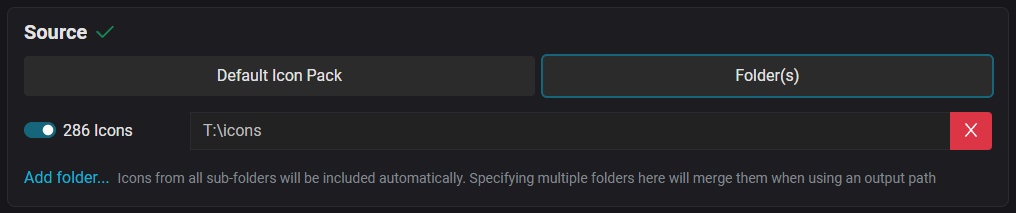
Folder Source
If you rely on custom groupings of icons beyond those which are provided by the default packs, you can select specific input folders of icons to apply the background/foreground layers to.
The tool will recursively find all icons nested inside subfolders within the selected folder(s).

You can select multiple folders and enable/disable them, though this is mainly useful when working on multiple packs.
Output
Once you've selected your layers and the source icons to apply them to, the last step is to tell the tool where to save the merged result.
If you've selected a Default Pack as the source, you'll need to select a folder to output the merged icons into. You can also select an output folder when using input folder(s) if you don't want to overwrite their icons.

If you've selected input folder(s), you can elect to overwrite the icons in them with the merged result.
Please note as it overwrites them, you won't be able to undo the merging operation unless you made a copy beforehand.

Merge
After you've configured the layers, source, and output, the Merge button will light up. Clicking this will initiate the merging process and show you the status as it progresses.

Once merging is complete, you can test your pack out in-game and optionally upload it to NightLight!